...
Add CompartmentRightSheet (and connect it with rivets)

Add 2 CornerBackets CornerBrackets (again, connect them with rivets, we leave omit this out on in the next following steps)
Add BigShim and LabyrinthSheet. Only use rivets for the holes in LabyrinthSheet, leaving the other holes open for now
...
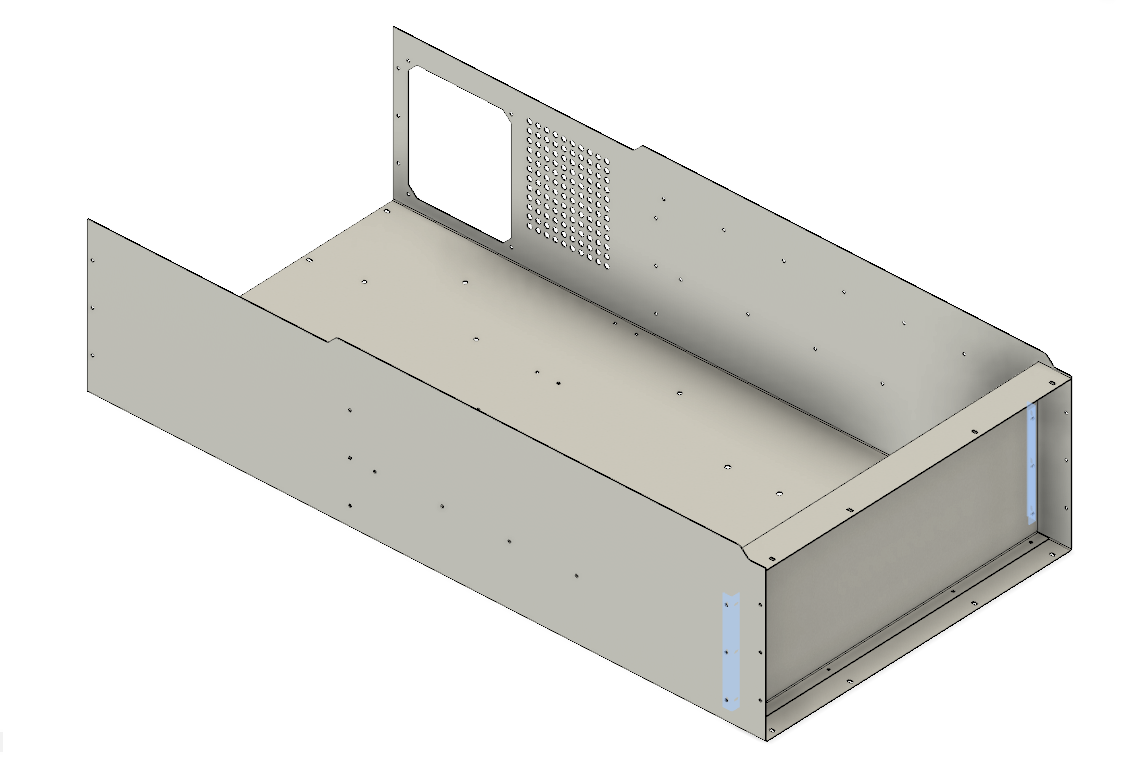
Add the 2 LidChannels:

Add the 2 backets brackets for holding the laser chamber:
...
- Make sure that there is a rivet or screw in every hole. Screws must be secured with thread locker/sealant or by using lock nuts
- Inspect all edges and corners
- Make sure that there are no gaps between metal sheets where light can shine through. This can happen when the connection (spot welded or rivetted) is not good or when metal sheets are dented/buckled.
| Warning | ||
|---|---|---|
| ||
Do not use the enclosure (without wearing laser safety glasses) until you have ensured light tightness! |
...
The magnetic safety switches consist of two parts: the actual switch is located inside the enclosure, while the activating magnet is mounted at the bottom of the lid. The following image shows the two parts (lid not shown). Each of the parts have has a 3d printed bracket (STL again available in the repository: https://github.com/Laser4DIY/Laser4DIY_Enclosure/tree/main/3dprinting). The lid bracket is mounted with screws to the lid, the magnet to the bracket. The switch bracket is mounted with screws to the side of the enclosure.
...
There is a second safety switch on the other side of the enclosure, this it is mounted the same way.
Safety Circuit and Electrical Setup
...